|
Using a Wood Lathe
Lesson 10 - Faceplate and Chuck Turning
Tool Processes |
|
Shoulder Cuts
1. EXTERNAL SHOULDERS. FIG. 18. The surplus stock at each successive shoulder is roughed out with a ¾” gouge, keeping well outside the finished measurements. The gouge for this work is held in the same position as described in B-I-1-a, Step 1, for Roughing Off Corners.
2. For the finishing cut a small skew chisel is used, and the process is the same as that used in squaring ends of stock. Both the vertical and horizontal shoulders can be handled easily by this method. Fig. 19.
3. INTERNAL SHOULDERS. For internal shoulder cutting the same methods may be used for roughing out and cutting the horizontal shoulders, but for the vertical or base shoulder it will be necessary to use the scraping process. (See “Use of Scraping Tools.”)
|
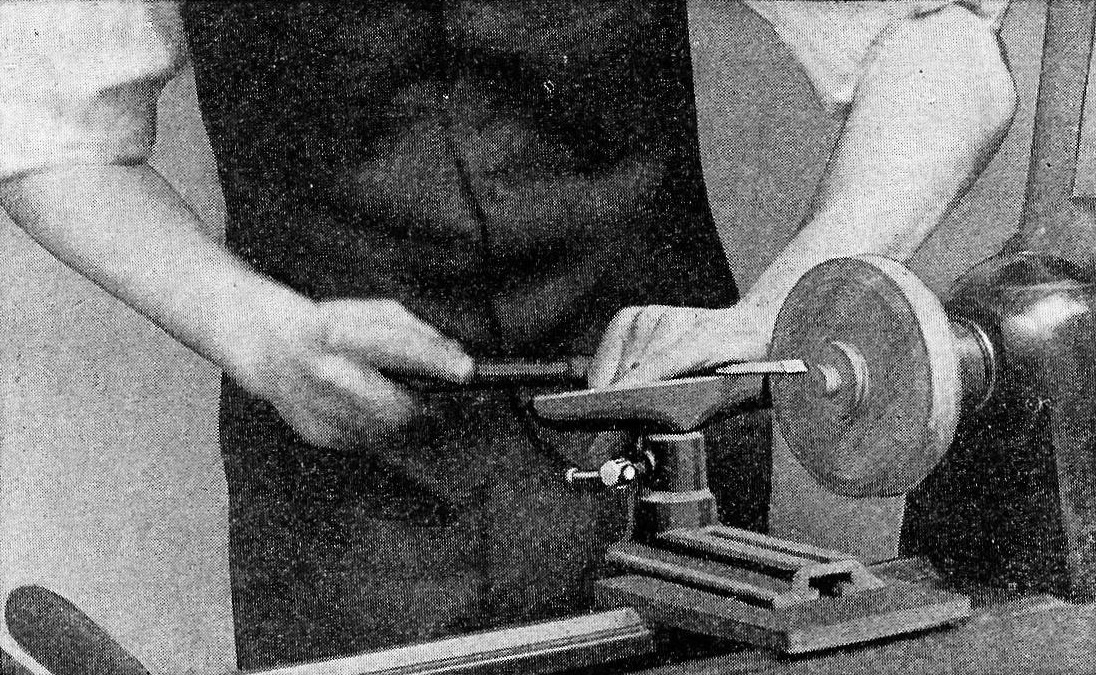
Fig. 19 |
|
Taper Cuts
Taper cutting will not be found hard as the gouge and skew chisel are used in the same manner as described in B-I-1-a, Steps 4 and 5. After the stock has been roughed away with the gouge to the approximate angle desired, a smoothing cut is taken with the skew. Care should be taken that the skew chisel is held at the exact angle of the taper desired.
V Cuts
V cutting will also be found easy as the tool process is exactly the same as that used in spindle turning.
EXERCISE A-I-4-a. Fig. 20.
|
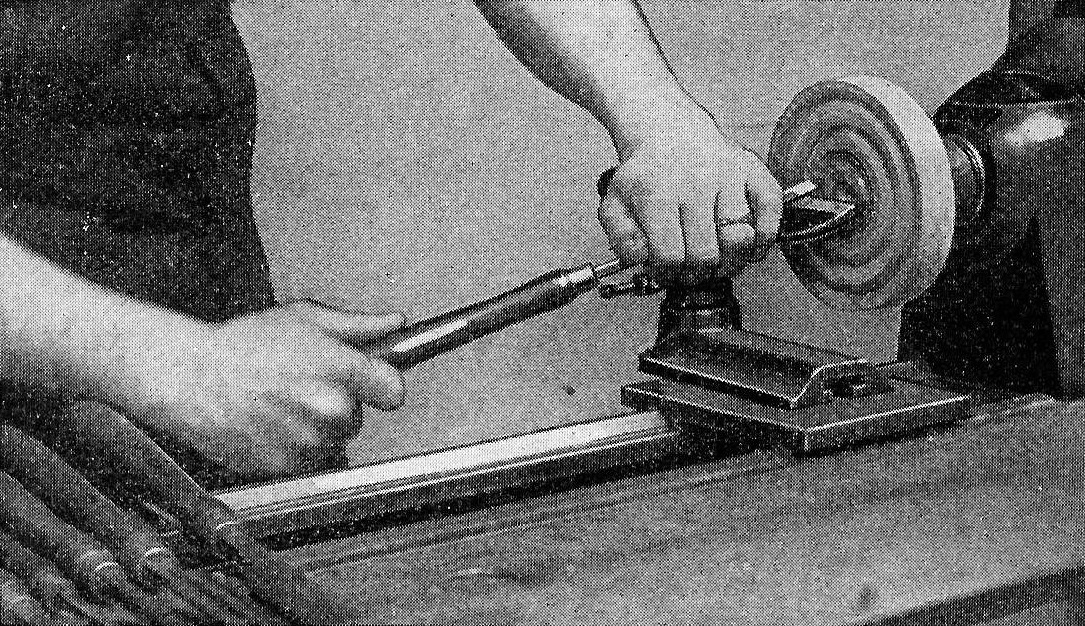
Fig. 20 |
|
Concave Cuts
Place the ¾” gouge on the rest with the handle parallel to the bed of the lathe. Roll the gouge on its edge and swing the handle so that the grind is perpendicular to the stock with the nose of the tool as the cutting point.
Force the gouge forward into the wood. As soon as the cut is started, the handle is lowered and swung to the left; (if cutting the left side of the concave) at the same time the tool is rolled back toward its original position. This movement brings the cutting point farther down on the lip and the grind, resting on the side of the cut, will force the gouge sidewise and will form one-quarter of the circle. Fig. 21.
This cut is continued from alternate side until the concave is nearly to size. The cut should be tested with a template before the finishing cut is taken.
|
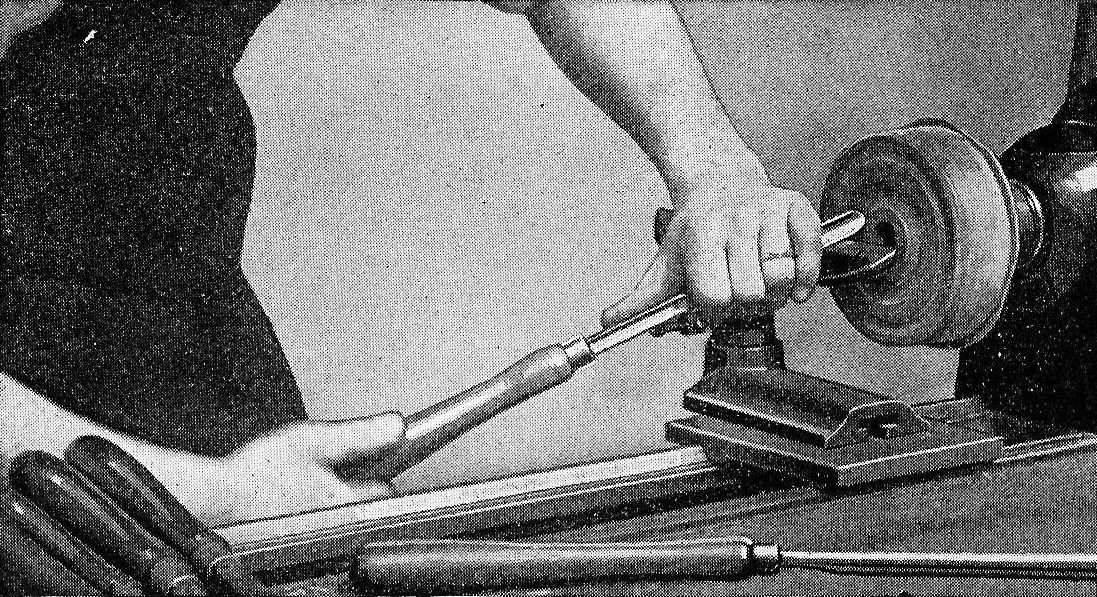
Fig. 21 |
|
Convex Cuts
Rough out the stock between the beads with a parting tool.
Hold the edge of the gouge on the rest with the handle, parallel to the bed of the lathe, to make the nose the cutting point.
Swing the handle to the left so that the grind will form a tangent to the bead at its highest point.
The gouge is then forced into the stock and to the right; at the same time the handle is swung to the right; keeping the grind tangent to the bead at the point of contact. Fig. 22. This cut is continued until the base of the bead is reached.
Combination Cuts
As in spindle turning, a combination exercise should be given at this point to provide an opportunity for studying out the best methods of working the various cuts just described into a finished product.
|
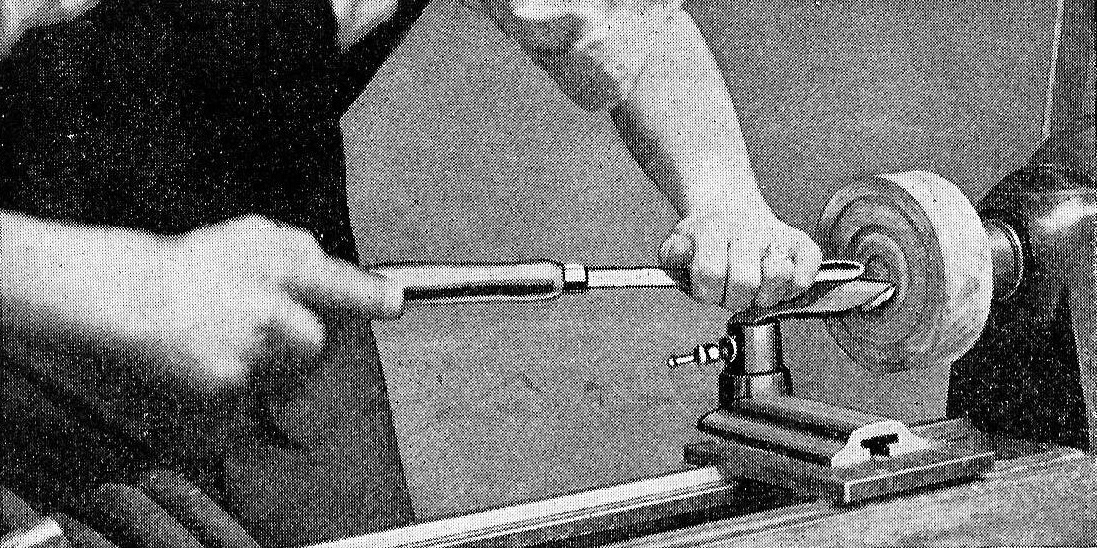
Fig. 22 |
Lesson 10 - Scraping and Boring
|